

Definitive Guide to Seneca Dragon Claw II
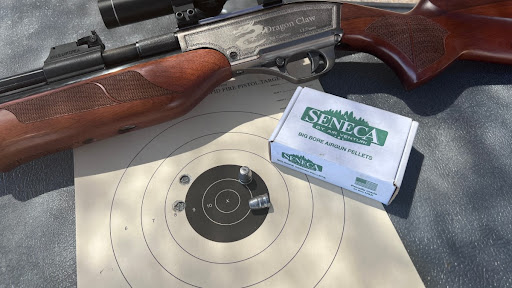
When we heard they were going to release another Dragon Claw, we all hoped that the changes would be performance-based and not all aesthetics-based. Having spent some time with the new model, we are very pleased to report that our wishes were granted. In fact, if you put the Dragon Claw II next to the original, you'd be hard-pressed to tell them apart save for the cocking handle.
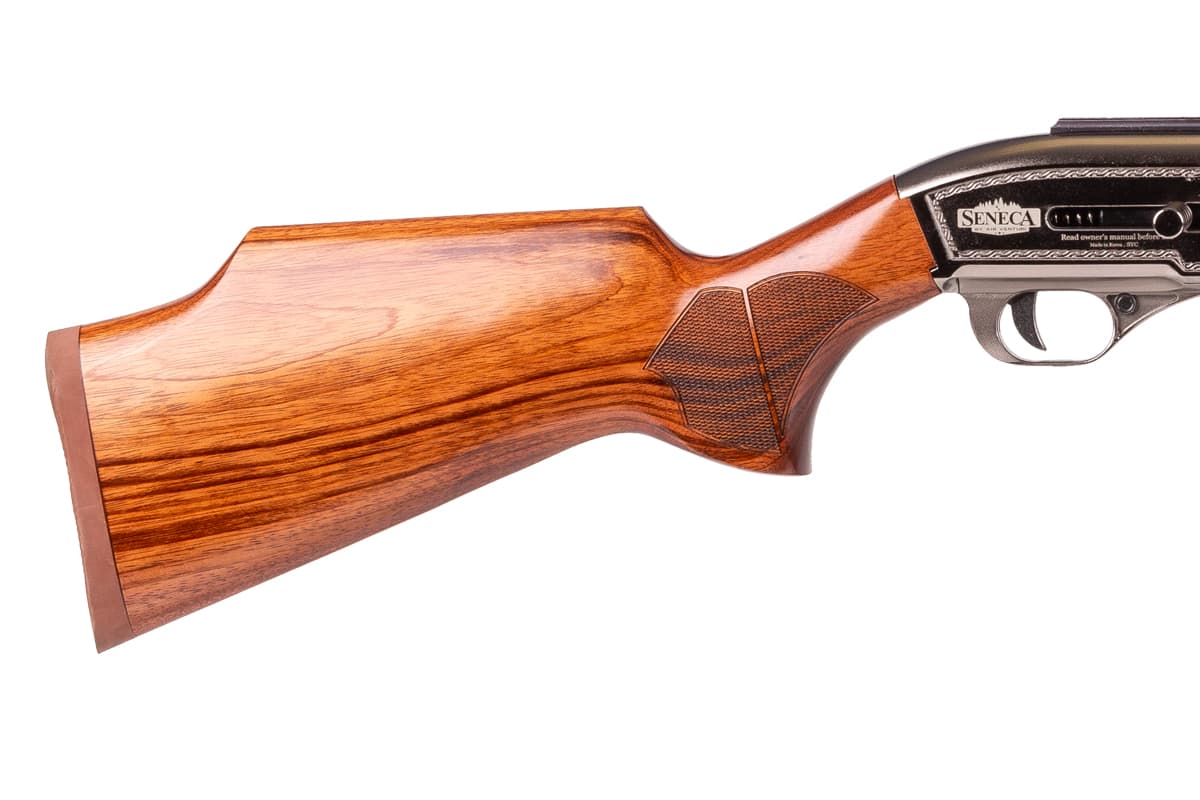
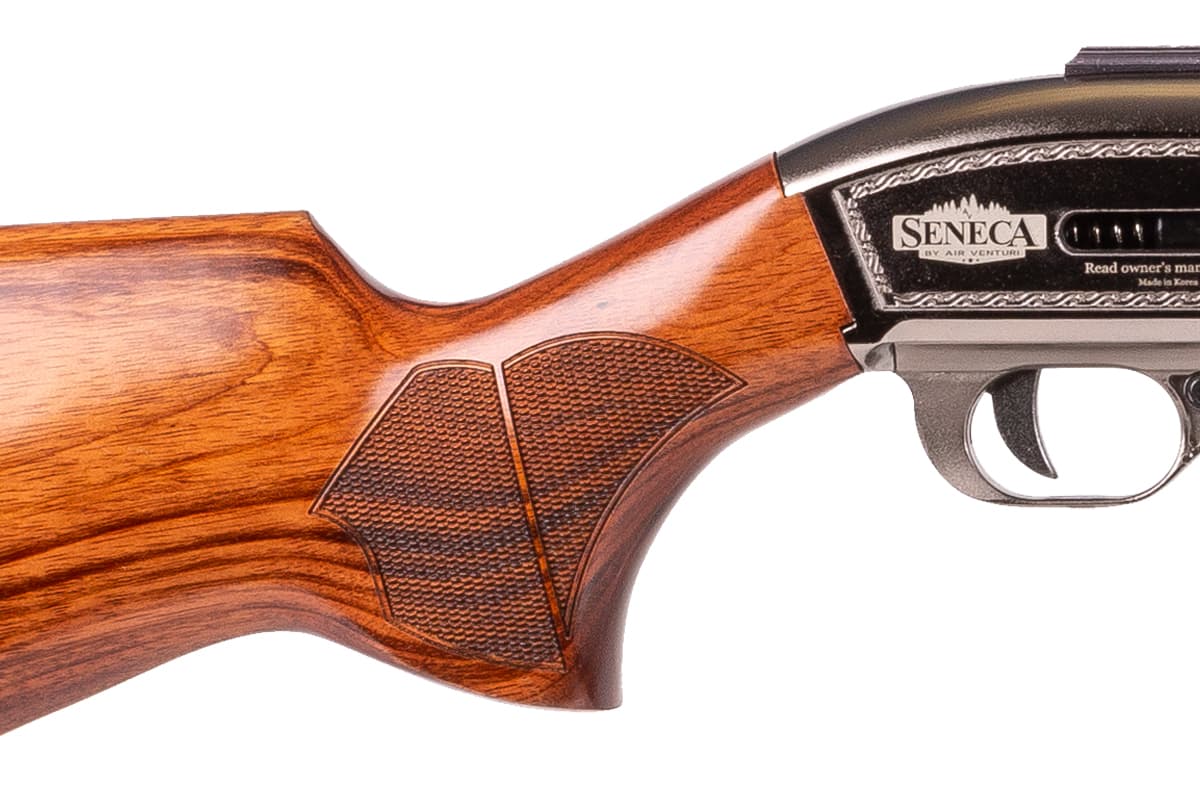
Starting from the rear of the gun, you have a wood buttstock that attaches to the action, much like a shotgun stock. It's hardwood with a raised cheekpiece favoring right-handed shooters. It's not raised so much as to make lefties uncomfortable, but it is set up for right-handers. The checkered grip is very comfortable in the hand.
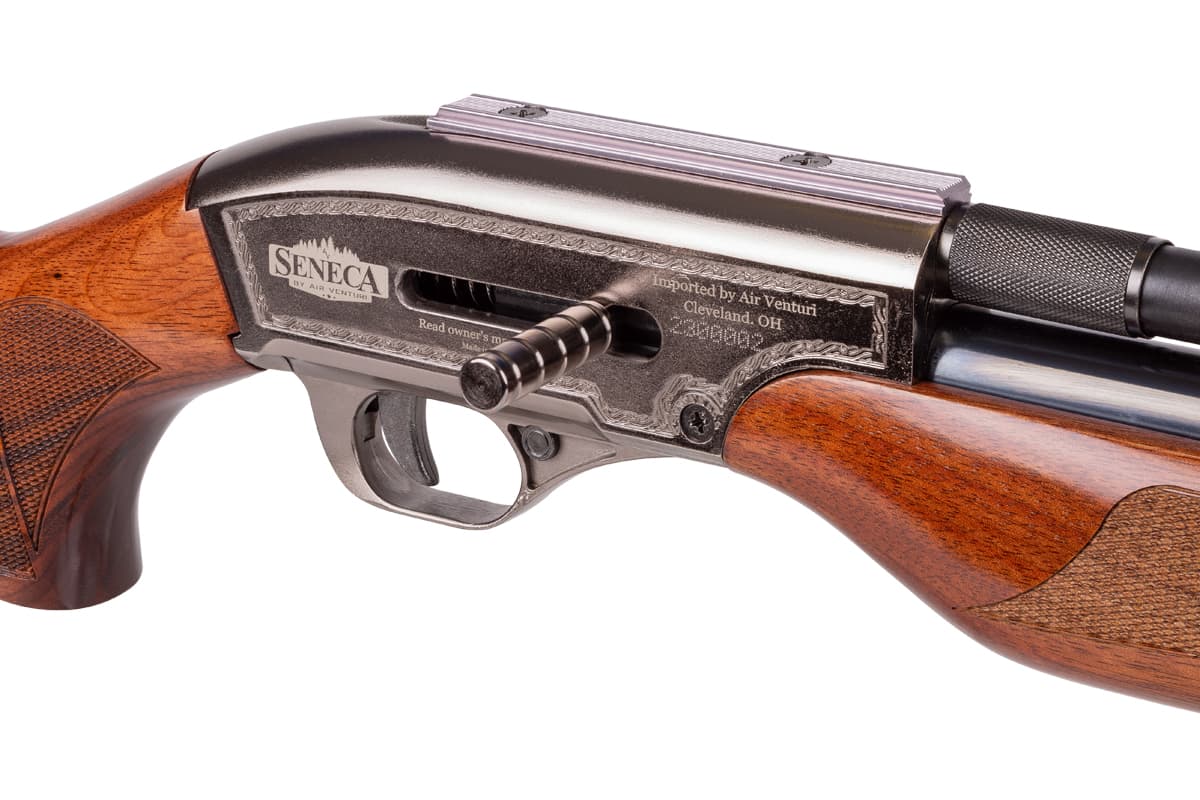
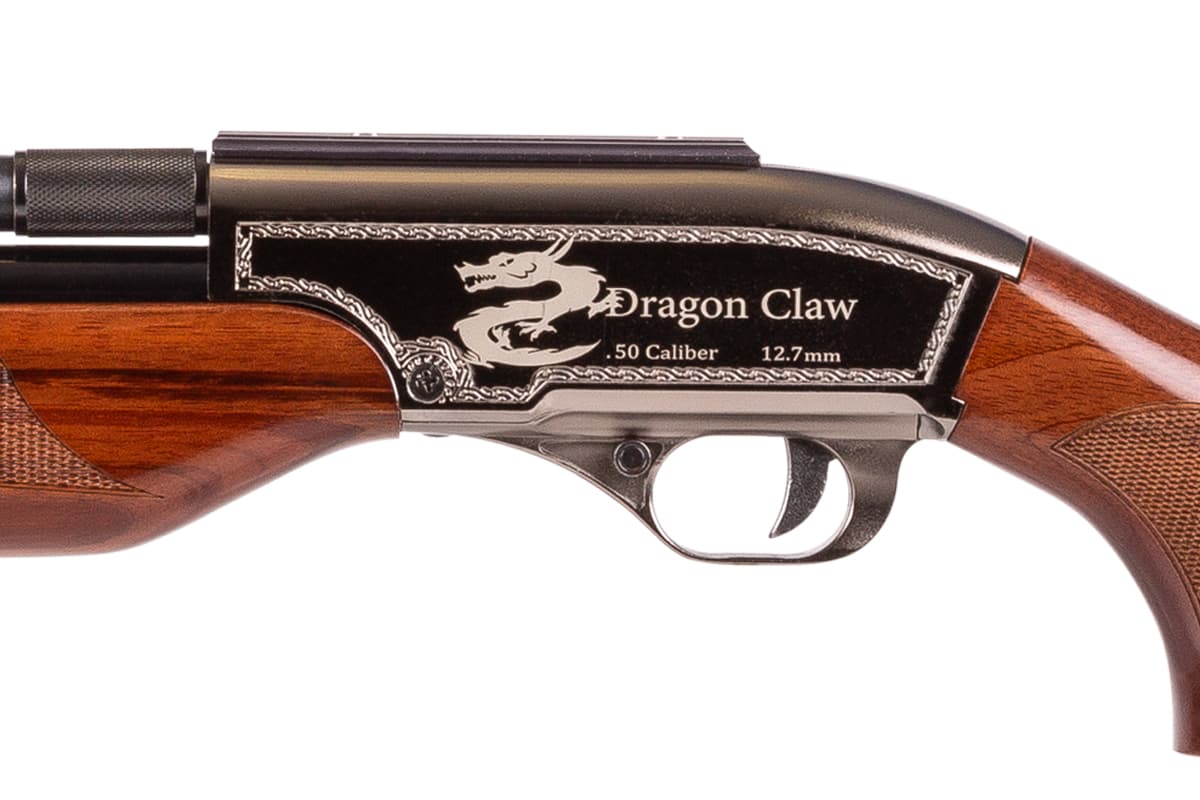
The action is metal with really nice detailing and imagery. There's a dragon on the left side and the Seneca logo on the right. On the right side is where you'll also find the cocking handle. It is a big improvement and really the only external variation from the original 500cc Dragon Claw. Where the original used a short bolt that screwed into the cocking hammer, the system uses a long cocking bolt that inserts into the hammer and is firmly held in place by a ball detent. The cocking handle really helps mitigate any increased cocking force needed to achieve the big upgrade we'll talk about shortly. On top of the receiver, you'll find the 11mm dovetail for mounting an optic.
Below the receiver is the non-adjustable single-stage trigger. Our site says that it has about a 7-pound pull, but we found it to be a little better, breaking at about 5 pounds 9 ounces. There's a manual safety that's part of the trigger group. One point of note, the safety only works when cocked.
In front of the receiver, you have the hardwood forearm that's also checkered for a positive grip. Above the forearm, you have a single shot, slide open breech. This wide-open breech allows for all sorts of ammo. If you want to shoot 177-grain roundballs, you're all set. If you want to switch over to 400+ grain slugs, they fit too. Wide ammo compatibility is one of the things that makes the entire line of Seneca Big Bore airguns so versatile.
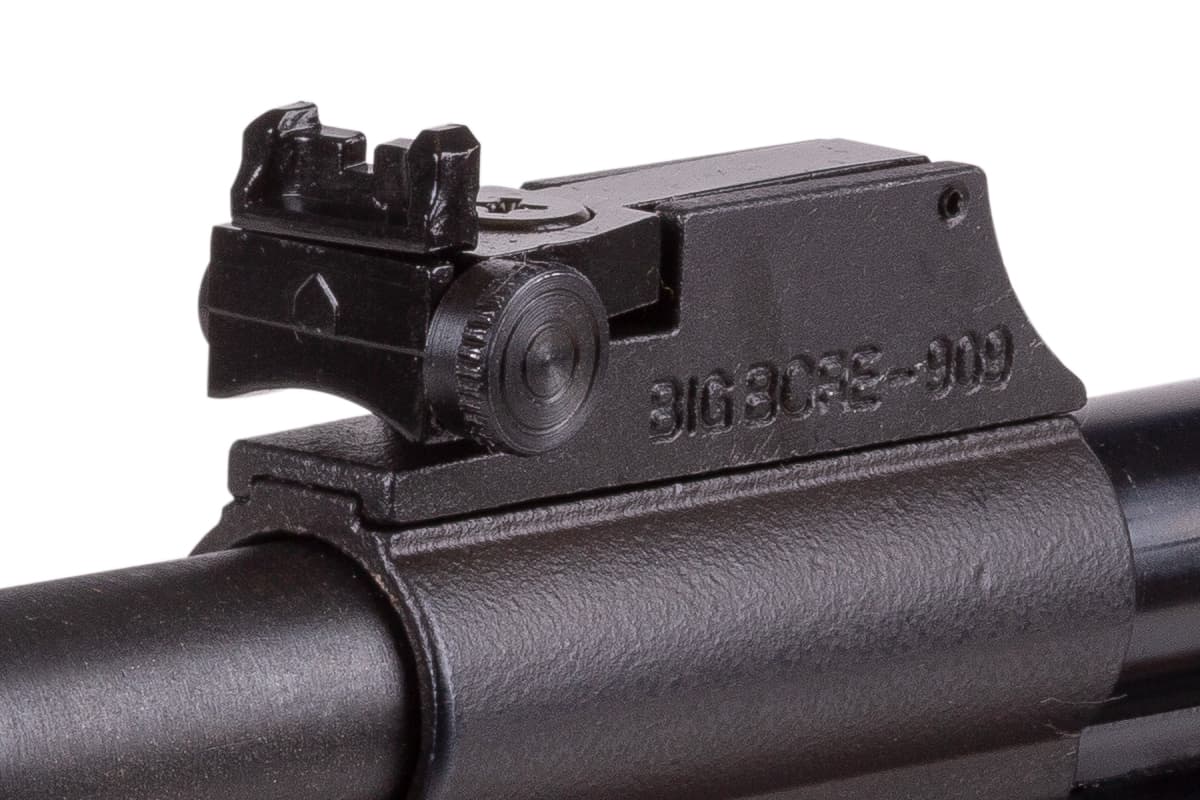
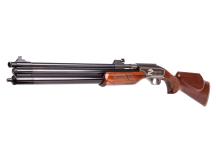
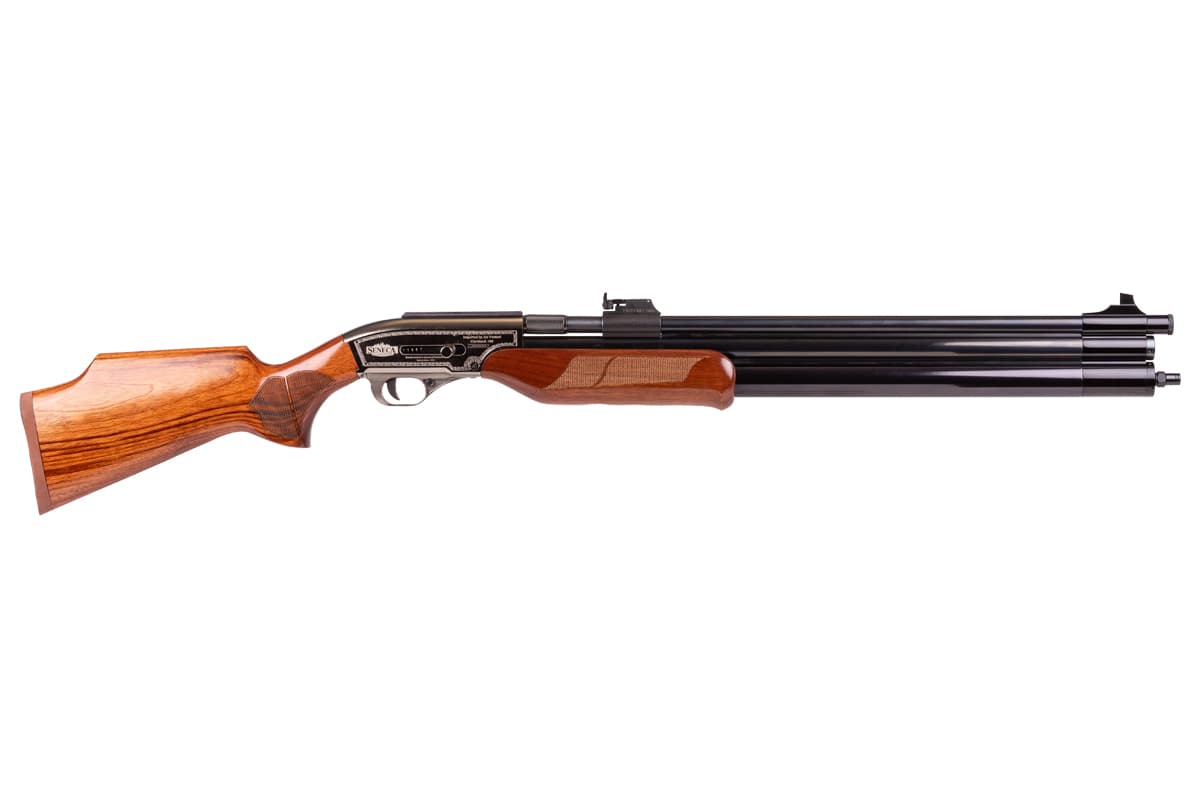
In front of the breech, you'll find the fully adjustable rear sight followed by the 21.65" rifled steel barrel. At the end of the barrel, you'll find the fixed front sight and the threaded muzzle with a protective cap. Under the barrel are the dual air tanks that hold up to 500cc of air at an operating pressure of 3000 PSI. Now, let's move on to usage.
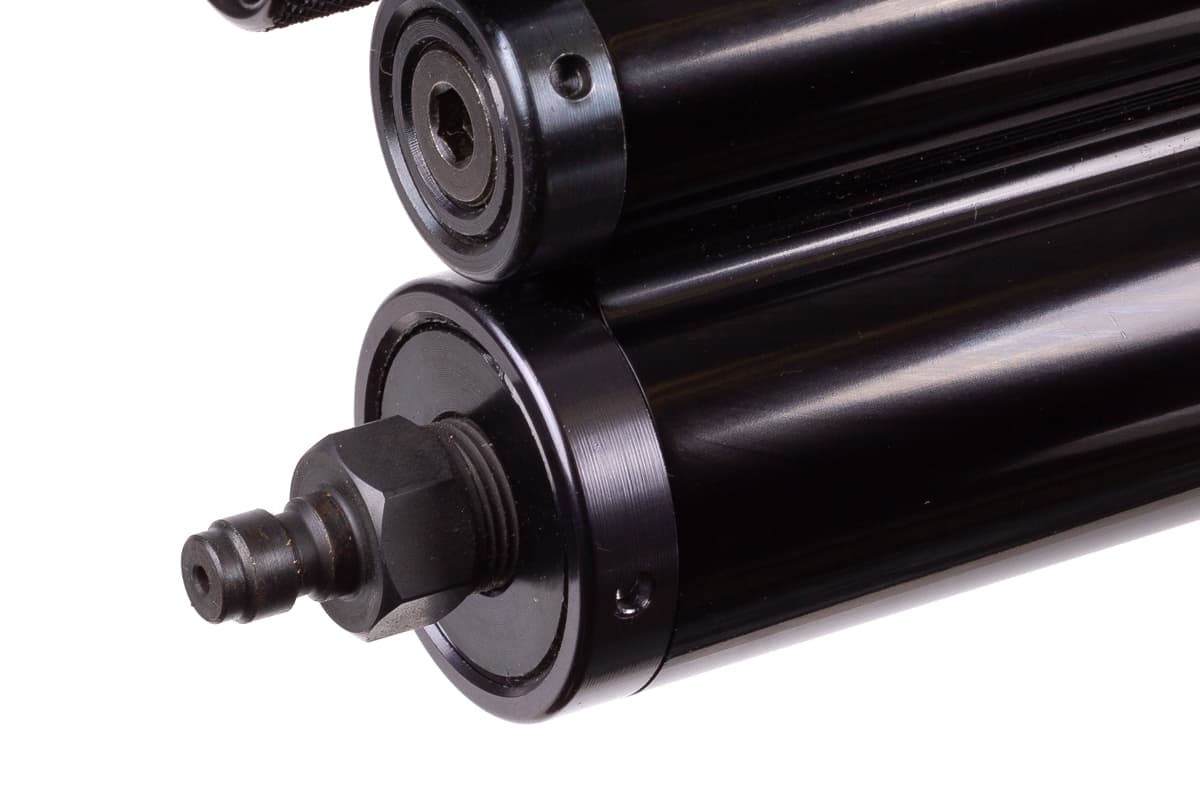
Before we can take our first shot, we need to fill our gun. There's a foster quick disconnect at the front of the gun located in the bottom air cylinder under the muzzle. You can fill this with a hand pump, but it will take a lot of work and time to get it up to pressure. If you like to shoot, then you'll want to find a faster method than going with a hand pump. Given that the Dragon Claw II PCP air rifle has 500cc on tap, we'd recommend using a carbon fiber tank or personal compressor. Something like the Air Venturi RovAir, which operates on 110v or 12v, would be a great option in the shop or the field.

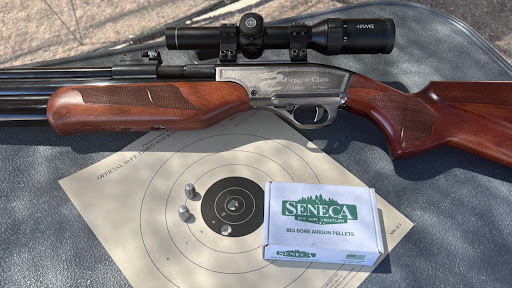
Once you've filled the cylinders to 3000 PSI, it's time to load your slug and take some shots. To load the slug, slide open the breech cover and insert your slug or other ammo of choice. For our testing, we used the Seneca 336-grain flat point slugs. These are accurate out of our Dragon Claw and devastating on the game.

Once you've loaded your slug, close the breech cover, making sure that it's all the way back. You'll hear a "snap" as it settles into the rear o-ring. To cock the Dragon Claw II air rifle, take a firm hold on the cocking handle and pull it rearward. There are two shooting positions on the hammer. The first click is ideal for lighter ammo, like a 177-grain round ball. The second position is meant for the big stuff, like the 336-grain slugs.
If you are not going to take your shot immediately, now is the right time to engage the safety. If you are going to shoot, you're ready to aim at your intended target and take your shot. We've found that a firm grip and hold is better than your typical loose airgun hold. It's more like shooting a black powder rifle than your typical airgun, so you need to hold it firmly and make sure to use good follow-through technique.
Performance and Accuracy
Now, let's get to the fun part. The original Dragon Claw topped out at around 230 to 240 foot pounds. The Dragon Claw II pellet rifle has been modified to push that to 340 foot pounds. We would like to report that our test sample did not hit 340 foot pounds; rather, it blew right past 340 to over 370 foot pounds, well exceeding our expectations.
Not only did we get way more energy than promised, but we also stayed above 340 FPE for 3 shots, generating a three-shot string of:
- 719 FPS / 385.79 FPE
- 707 FPS / 373.6 FPE
- 687 FPS / 351.9 FPE
And a final fourth shot of 663 FPS / 328.5 FPE. We could have kept shooting, but our POI started to shift after the first couple of shots, which brings us to an important part of this guide.
Shooting an unregulated big-bore gun like this will take some time, as there is a learning curve. You'll want to find the ideal pressure that delivers you two, maybe 3 consistent shots on target. The Dragon Claw II big-bore air rifle is a hunting gun, not a bench rest target gun. You don't need 30+ shots; you really need one good shot that hits the mark. As we completed our tests, we found that our most consistent results were achieved when we filled to about 2850 PSI and took two shots. Filling to 3000 PSI tended to yield an inaccurate first shot followed by two, possibly three, consistent shots. You'll want to take time to find the sweet spot on your gun so that your first shot hits where you want every time.
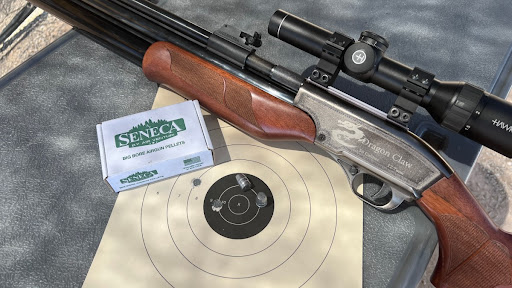
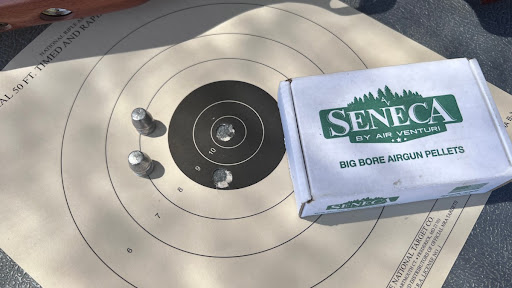
Here are three of our test groups, with the last group in the black after a final scope adjustment. We used a Hawke Endurance 30 WA 1-4 x 24 for our scope. We like this option for its extremely fast target acquisition and clarity. It may be possible to get tighter groups with something with a higher magnification, but the simplicity of this optic really works for us, and you don't need to remove the open sights as you would with some other optics.
Summing Up
So that's a wrap on our Definitive Guide on the Dragon Claw II. The upgrades are on point, keeping the traditional look and feel we all love while increasing the performance we all wanted. And didn't just marginally improve performance; they dramatically improved performance, producing significantly more power than promised. It's great when companies get it right.
Please Note: You must be 18 years of age or older to order and conform to all laws governing the use and ownership of airguns in your local area. More Info
2024 Airgun Depot, 12453 S 265 W Suite F, Draper, UT 84020. All rights reserved. Terms of Use